Now that you have added a header, you can create your Custom Field. In the example below, we will be asking prospective volunteers why they want to volunteer with us.
1. Run your mouse over the options Iconand click "New Custom Field".
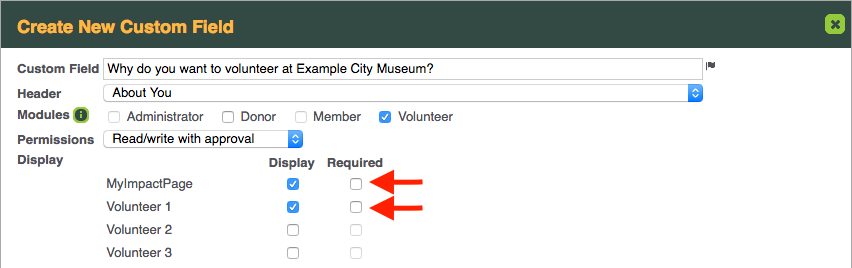
2. Type “Why do you want to volunteer at ___________” in the Custom Field box.
3. Choose "About You" in the Header (to place this Custom Field under this header).
4. Check the Volunteer Module box (…again because this field relates to volunteers).
5. Set the permissions to “read/write without approval”. This means that volunteers can enter or update this information without approval (we’ll explain the other options when we review other uses for Custom Fields later in the trial).
6. Check the boxes in the Display column next to MyImpactPage and Volunteer 1. Checking the “Volunteer 1” box places this field on your application form 1. You can have up to three application forms with a Standard Edition account and you can choose to put this field on one or all of your application forms. Checking the MyImpactPage box means that volunteers would be able to view and update this information in their volunteer profile on MyImpactPage at a later date.
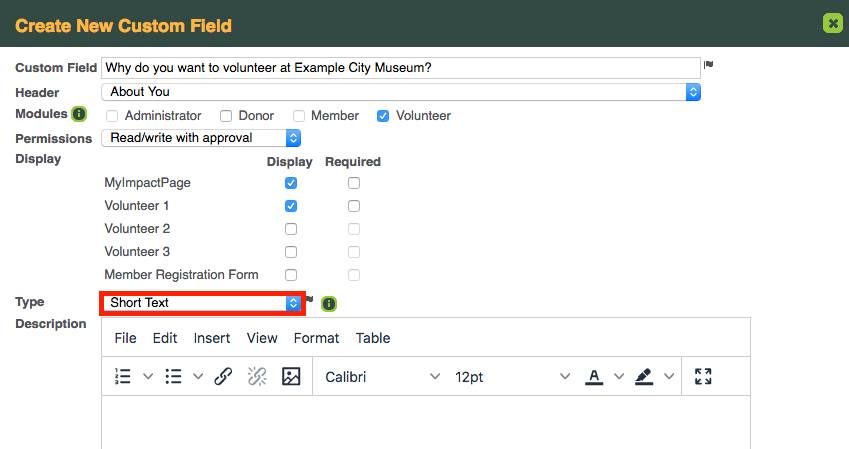
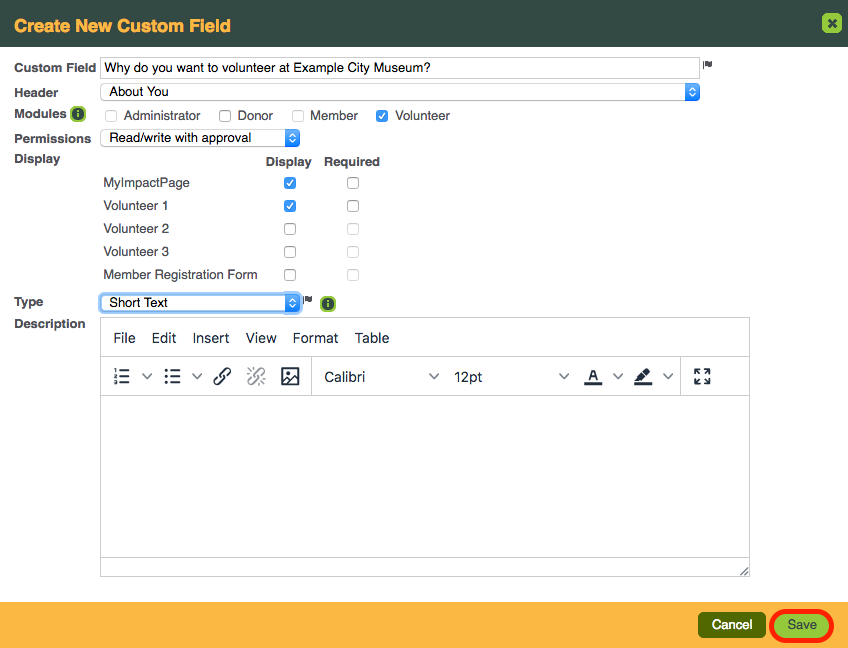
7. Choose “Short Text” for the Type of field.
8. You can fill in a description whenever you feel it would be helpful.